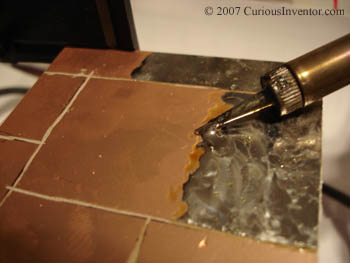
Don’t want to send out for a PCB when you just have a couple surface mount parts that need prototyping? Make your own surface mount PCB. Dremel a copper-clad board into regions, cover them with solder, and then drop in components. You could only add solder under the exact component locations, but shellacking the whole board is more fun and gives you more flexibility.
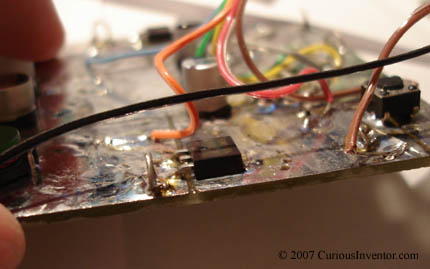
- First, sketch a quick diagram showing component locations and connected regions–the regions will be nodes in your circuit.

- Next, transfer lines over to the copper with a sharpie and lightly dremel off the top copper layer.

- Brush on some flux. If you use a thick enough solder, it may contain enough flux in the core already.
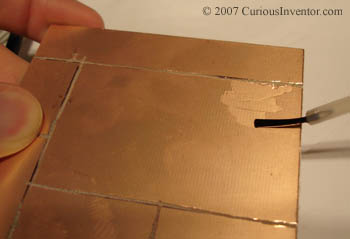
- Now coat the regions with solder. The higher wattage the iron, the better, since you’re essentially soldering to a giant heat sink. A 30W will do the job, but it’ll take a while.
