Dremeling out holes for knobs, switches and displays is fun, but several companies now offer cheap laser cutting that lets you make a custom acrylic box with all the right holes and dimensions for under $30. This post talks about how to draw the 6 sides using free software, and how to connect the pieces using screw-together and permanent techniques.
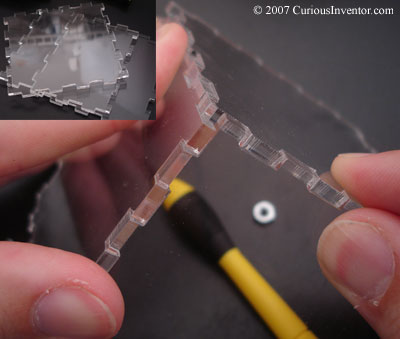
Making decent enclosures is troublesome because it’s almost impossible to find just the right size box, and hacking out the holes for connectors usually takes a lot of time and looks sloppy at best. Designing your own laser-cut, acrylic box takes care of these issues and doesn’t even cost that much. Ohararp.com got our pieces to us in 3 days and cost less than $30. Pololu also does cheap cutting.
This will go over our experimentation with a couple different joint styles, some chemically welded with acetone and others held together with screws and nuts. We’ll also talk about drawing the sides with free software and stress test the results.
Joing Two Pieces of Acrylic:
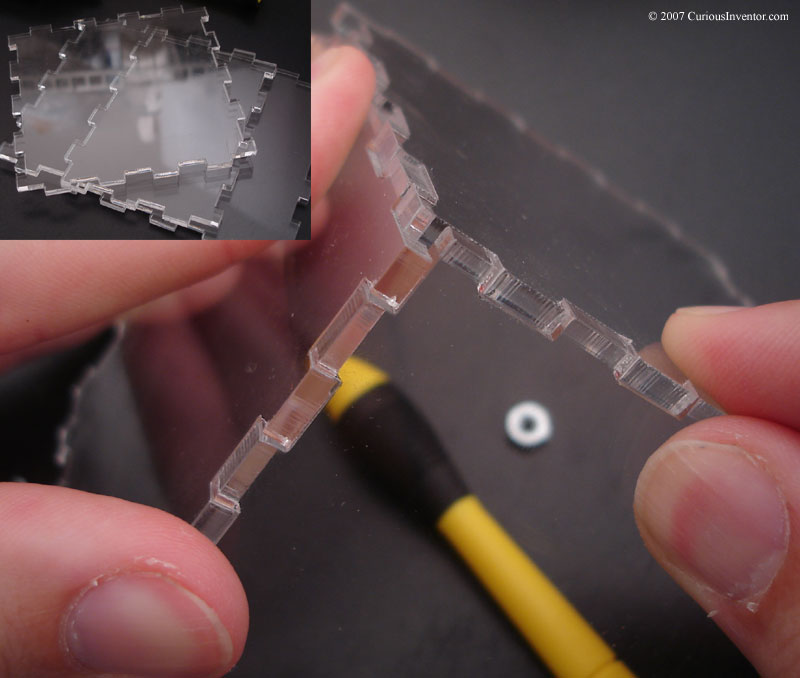
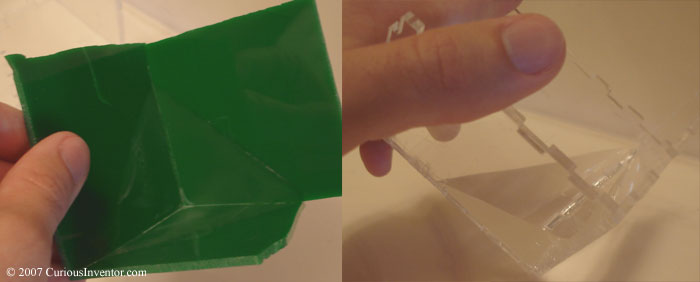
Temporary Joints: You typically want to be able to open your box to fix circuitry, replace batteries, etc., so gluing everything together won’t work all the time.
The sturdiest route would probably be to use metal, threaded-inserts that you install by first pre-drilling a hole into the edge, and then “heat staking,” or melting the insert into the plastic (using a soldering iron). You can actually tap (cut screw threads) directly into acrylic, too.
Both of these technique require drilling into the side of the plastic, however, and we wanted something that could be completely cut out of a flat sheet with a laser. We also couldn’t find inserts that would fit in 1/8″ acrylic.
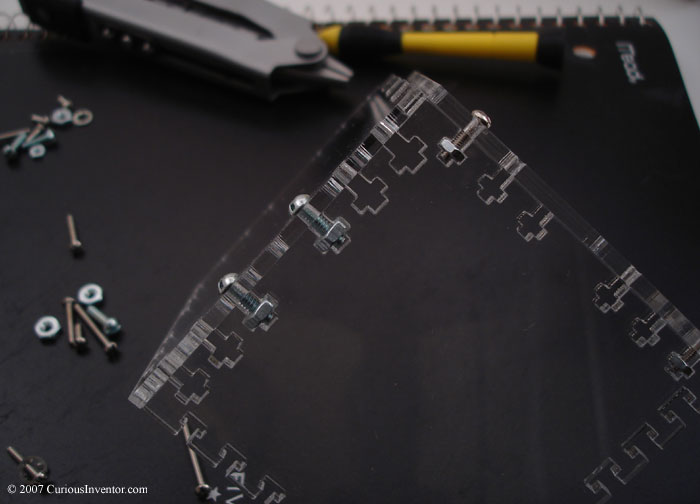
Designing the Joints:
With either the screw-together or glue-together technique, we weren’t sure if the laser would leave a gap for which we’d have to account. As it turns out, at least with ohararp, what little gap there is appears to be under a thousandth of an inch (as measured with calipers). This means that we didn’t have to design in extra material for the width of the laser cut.
Screw Together Joints:
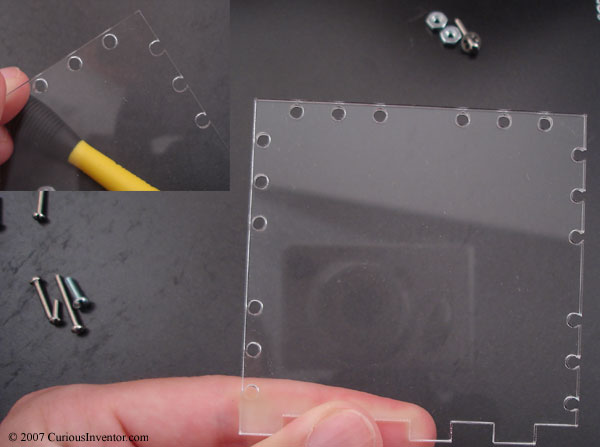
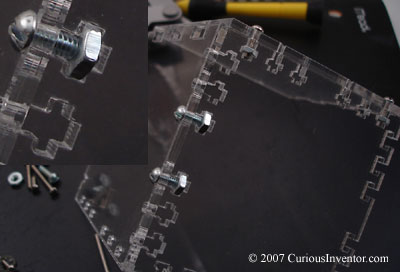
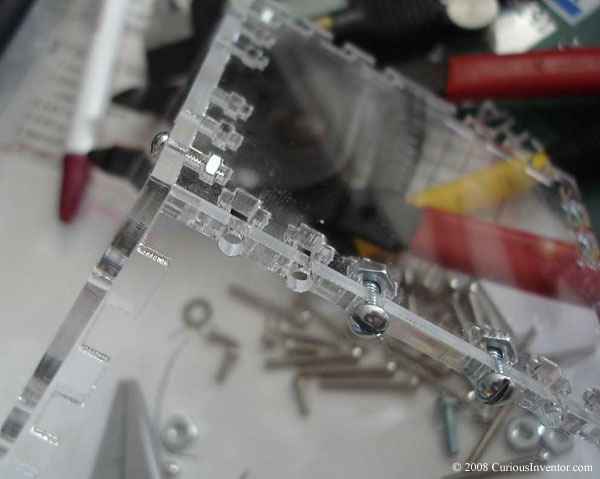
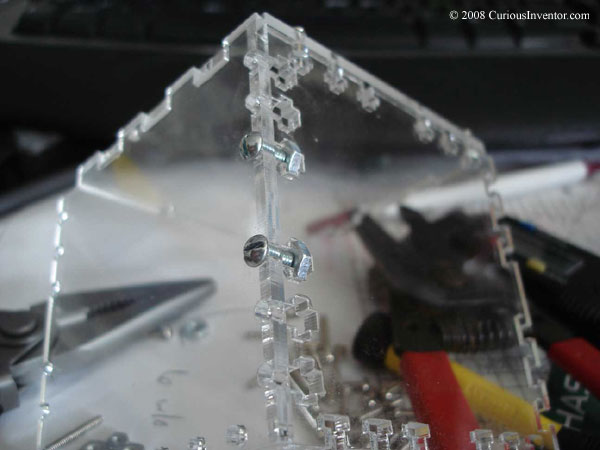
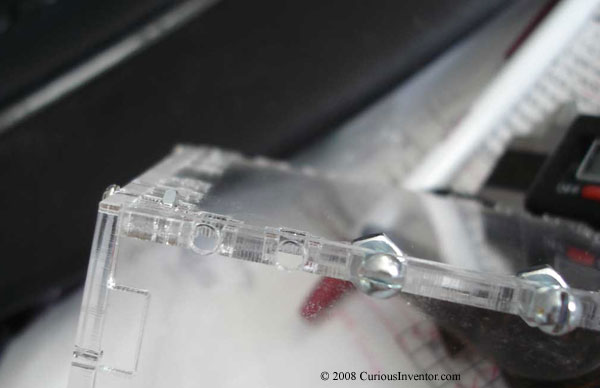
Both 2-56 and 4-40 screws and nuts were used. In all cases, the nuts stick out, but the acrylic sides can be designed to be flush (not overhang) by placing the center of the holes 1/2 the material thickness from the edge. As the picture shows, placing the holes that close to the edge caused the 4-40 screw holes to be interrupted by the outer edge, but the joint seemed to work just as well. Exact dimensions will be shown in the next section.
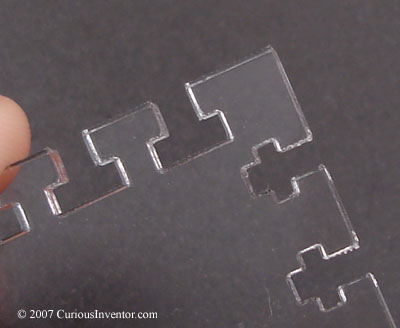
Glue / Chemically Welded Joints
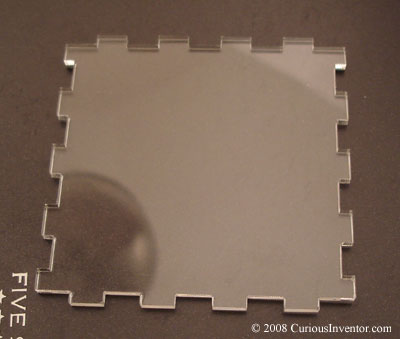
There’s actually software out there that will automatically generate dwg/dxf files given arbitrary box dimensions called Box Maker. This is great if you don’t need to cut your own holes for display and switches, etc.
Drawing the Box Sides with Free Software:
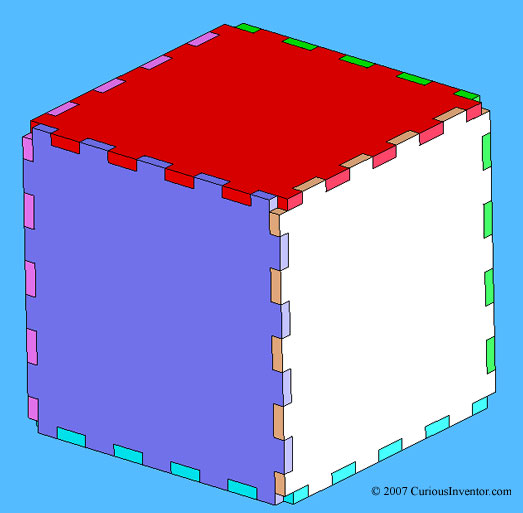

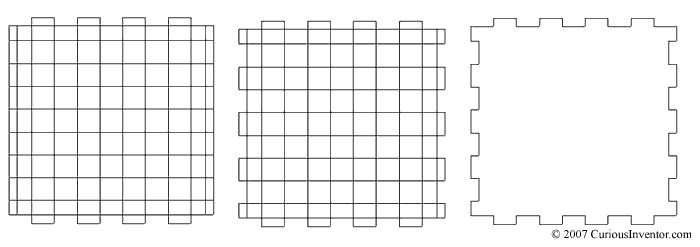
Drawing the T-shaped holes
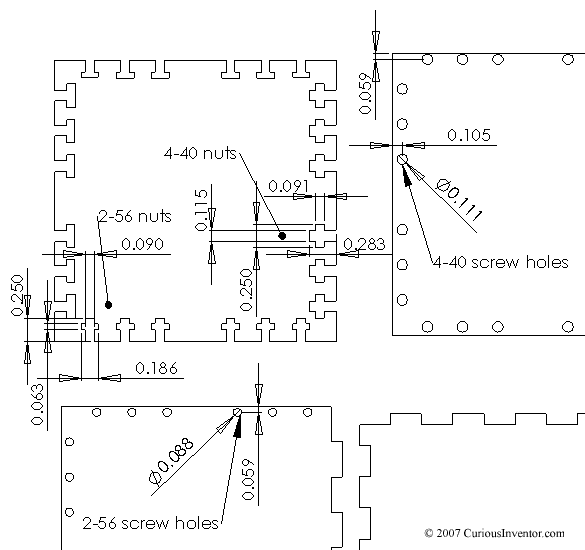
If you don’t want any overhang, draw the clearance holes for the screws at half the thickness of the material. This will cause a 4-40 hole to go past the edge on .118″ thick material, but this didn’t seem to hurt the joint much. Compression holds the pieces together, not the side wall of the screw hole.
Free CAD Software:
Talk to your laser cutter to see what format they will accept. Typically, any sort of vector-based file will work, such as dxf or eps will work.
- Alibre: From our very brief testing, this appears to be one of the best free offerings out there. 2D and 3D, similar feel to SolidWorks if you’re used to that.
- freebyte.com/cad: A good listing of free / open source software.
- Cademia: open source and cross platform
- QCad: Only free for linux.
- SolidEdge: 2D only, fairly easy to use interface.
- A9Tech: The simplest to use out of the box, you can save as dxf, but not pdf, jpg, etc.
- CADStd: Another fairly easy-to-use windows program that exports dxf.
- Many drawing programs will also work, and if you already have a CAD program (like Eagle) for electric circuits, check to see if it will export dxf.
Be prepared to fight a learning curve if you’ve never used a CAD program before; they’re a little trickier than photoshop. Some tools to get familiar with include O-snaps, linear patterns and offsets.
Welding the Acrylic Sides Together with Acetone
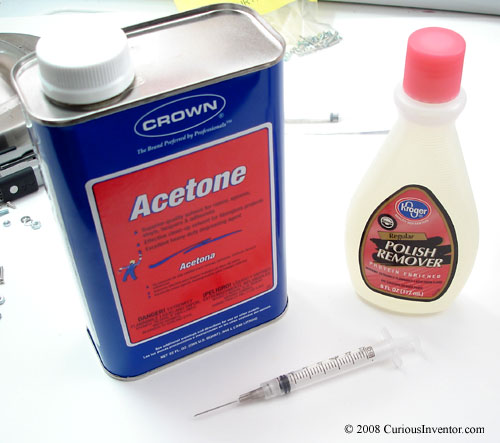

The syringe is very helpful for applying the acetone only to the joint. Any spills will immediately start eating into the plastic and damaging the surface. I got a free one from a local Kroger pharmacy. I think the pharmacist actually believed me when I said it was for a hobby project.
About Acetone: Acetone is an interesting chemical, commonly used to thin epoxies, remove paint, clean greased parts (bicycles), it is also the main ingredient in nail polish remover. (We tried using nail polish remover to join parts, it did not work…) deoxy.org says even the vapors can damage cds. It evaporates quickly, is highly flammable, and is heavier that air, so it’s probably not a good idea to use near a pilot light. The fumes attack the central nervous system (see msds), can harm the lungs, and eventually cause unconsciousness. The liquid will damage skin. It also makes great acrylic joints!
According to wiki/Plastic Welding, in solvent welding, acetone dissolves the plastic which allows the sides to “mix”. Then it eventually permeates out leaving behind a solid acrylic connection.
Clamp or Tape the Pieces Together:
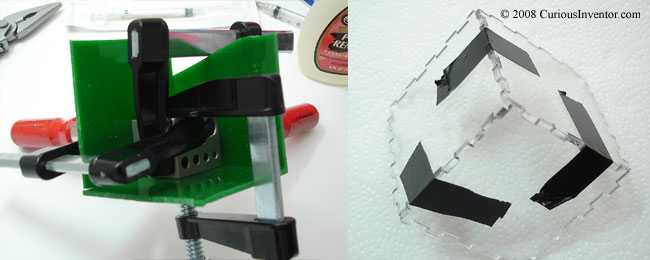
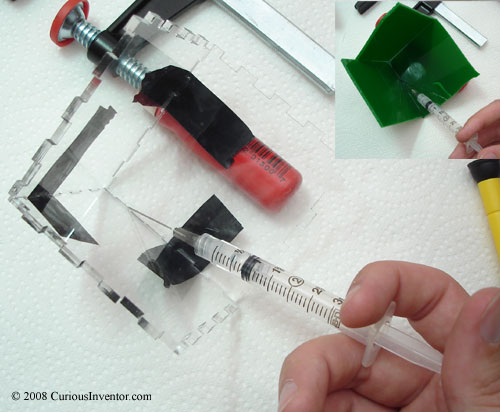
Let it sit for 24 hours. It might be fine after 2 or 4 hours, test for yourself!
Conclusions:
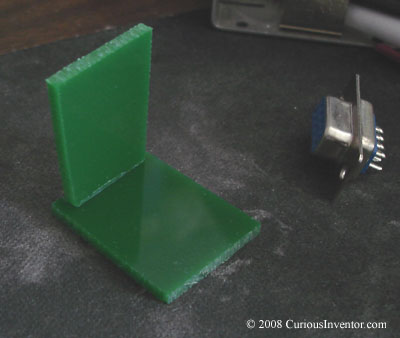
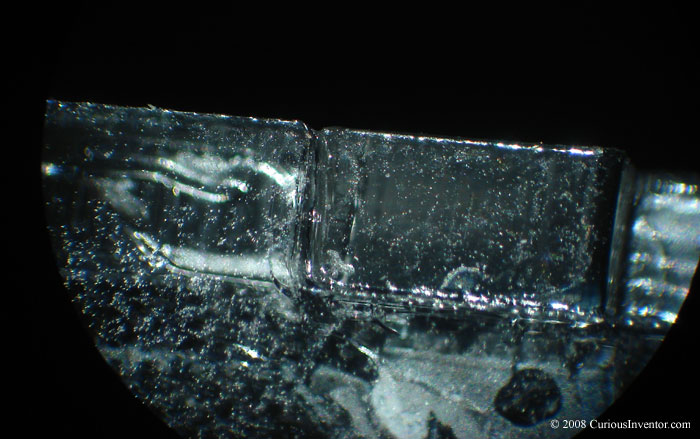
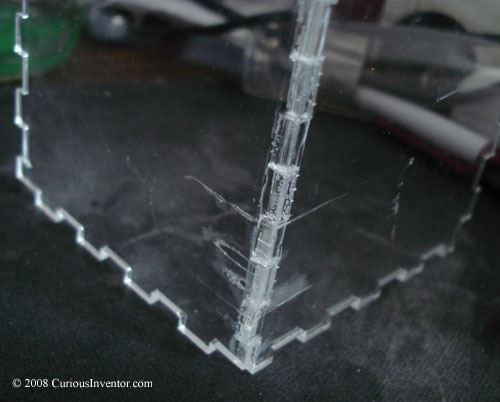
Acetone Welded Pieces: As we mentioned at the beginning, the square-wave puzzle-shaped edge was amazingly strong, whereas the flat edges broke easily. This could have been due to some unevenness in the flat edge, since the small 1″ test piece survived over 3 lbs of force over a very small area. One thing to watch out for is the acetone being wicked away from the joint by whatever is clamping the pieces together. You can see some marks where it got under the tape in the final picture below.
T-Slot Screw-Together Method: These joints seemed surprisingly strong. Some lock washers would probably help prevent loosening from vibration. One downside is that the nuts stick out from the side a bit, but there might be some smaller t-nuts out there that will fit inside a 1/8″ or 3/16″ piece of acrylic. Another method might involve making tabs on one piece of acrylic that fit into slots on another, with everything being held together with long screws and standoffs. Leave better ideas and corrections in the comments… this isn’t a tried-and-true method yet!
 |
 |
 |
 |

What a disappointment!
Given the title of the article, I expected at least two more things:
1) Techniques to make boxes that hold together without bolts OR glue, like this:
https://cdn.thingiverse.com/assets/77/95/97/00/df/adafruit_pi_box.svg
2) adding interior walls within the box
Without that, these are not “custom boxes for your DIY circuits”. These are just plain boring boxes.