Sometimes solder suckers lose their suction even though nothing appears to be clogging the tip. By cleaning and re-lubing the O-ring inside, this simple tool can oftentimes be brought back to life. Click the title for more pictures and steps.
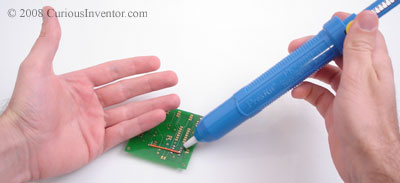
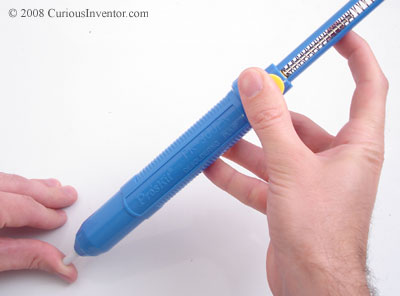

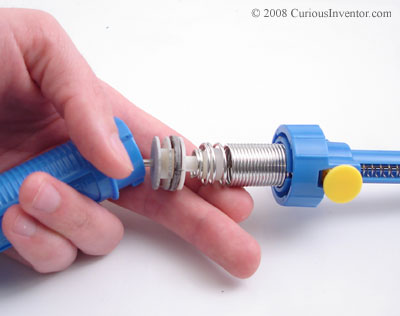
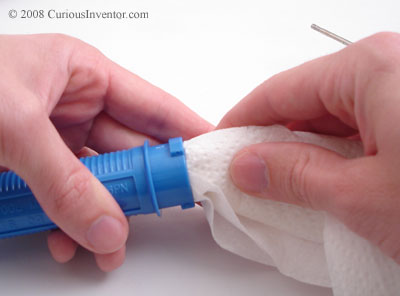
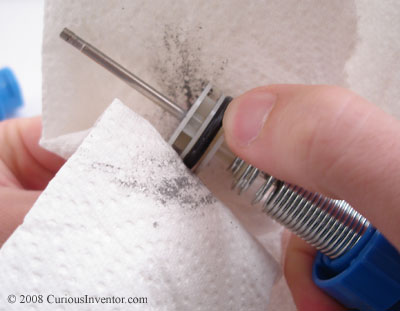
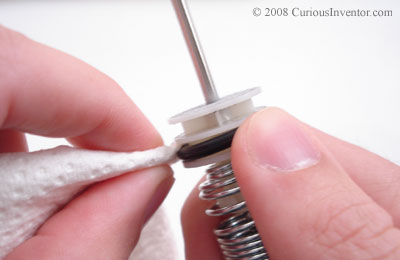
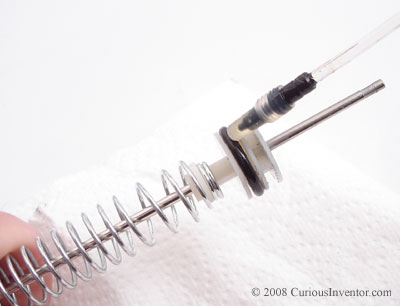
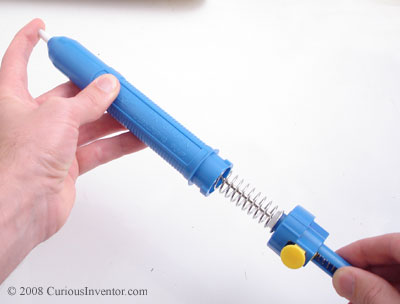
Sometimes solder suckers lose their suction even though nothing appears to be clogging the tip. By cleaning and re-lubing the O-ring inside, this simple tool can oftentimes be brought back to life. Click the title for more pictures and steps.


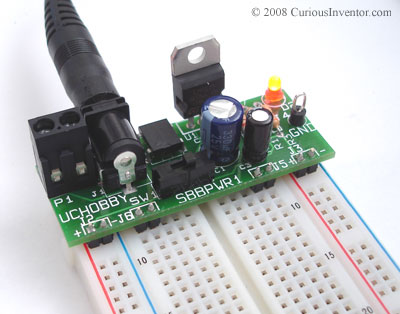
We’re happy to release a new section to the site that contains open-source, fully documented kits. Lots are coming soon, but our first one is a plug-in bread board power supply module designed by David @ uCHobby.com. Instead of stripping wires from a wall wart and cramming them into a bread board, this module lets you plug the barrel jack straight in or neatly attach stripped wires with screw terminals. It’s configurable to supply 3.3V, 5V, 6V or 9V from either an AC or DC input. We’ve put together instructions that make a great starter guide for someone just beginning with electronics, covering basics like soldering, which way to install caps, clinching leads and more.
Having lost a just-out-of-the-oven Quiche and a meal of freshly delivered Chinese food to an otherwise very well behaved dog, one of the guys that works here used a salvaged industrial emitter / detector pair, relay and car horn to provide a bit of doggy defense for his kitchen counter. The industrial emitter is a tad expensive, but you could probably use a laser pointer and photo transistor just as well.
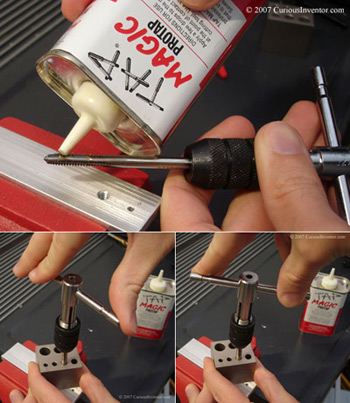
We’re proud to release our first home-grown product: a tapping block. If you’re not familiar with tapping (cutting screw threads), the hardest and most tedious part is starting–an off-angle start can ruin parts and break taps. However, by guiding a tap through the close-fitting holes, it’s easy to keep the tap straight. You can always make your own, or if you want something that will survive a nuclear war, get this one.
If you haven’t checked out Gizmodo’s videos from inside the lego factory, here’s another encouraging link. They also have video of the shelving system robots that automatically store and retrieve legos from over 65 square miles of equivalent storage space. A couple more Lego fun facts:
 |
 |
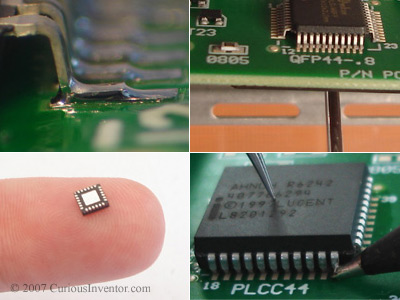
We just finished up a new set of guides showing how to solder surface mount components–without expensive equipment. They cover everything from soldering basic resistors, to fine-pitch QFPs (.5mm), to QFNs (no leads at all!), to using solder paste and a toaster oven. There’s also a 9 min. video to get you started: Surface Mount Soldering 101.
Surface Mount Soldering Guide Contents
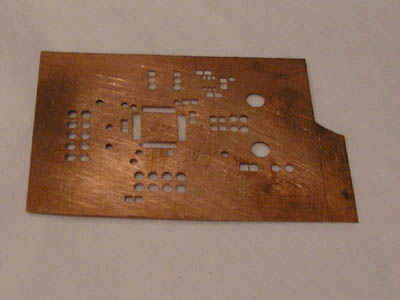
All sorts of people are using toaster ovens and skillets to reflow (melt) solder paste on PCBs, but one bottle neck is applying paste to the pads. Using a syringe takes a long time, and getting custom made stencils is fairly expensive. tymm posted a cool instructable showing how to roll your own solder paste stencils. He uses the same process for etching your own circuit boards but does it on a thin piece of copper bought from a hardware store.
Motors inside the ball work against a counterweight to allow it to move without external wheels. I believe certain pitches and sequences control how it moves. It can also play music itself–a piezo actuator uses the entire outer shell as a speaker to play back manipulated portions of what it hears. From a Robotics and Art conference that was taking place near RoboCup 06.
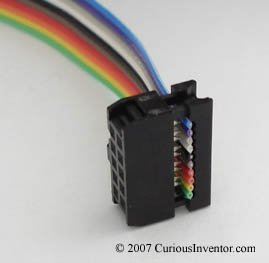
Although special crimpers exist for this purpose, a small bench top clamp works great for pressing the together the top and bottom of IDC sockets on ribbon cable. Click expand to see some before and after shots.


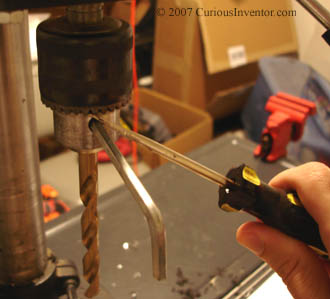
Stick a screwdriver or hex wrench into one of the chuck key holes. Then use it as a fulcrum with a regular / flat screw driver to tighten or loosen the chuck. There’s probably a good chance this could harm your chuck if you do this regularly, but you need that hole NOW–new chucks can come later.
