Who knows how this will last, but IPC (a trade organization that publishes solder and electronics standards) has demos of thousands of dollars of all their training material available. This includes picture books of good and bad joints for both lead and lead-free solder (dull and grainy OK for lead-free!) as well as low-res versions of their DVDs, which cover everything from hand soldering techniques, to ESD safety and even PCB manufacturing. The through-hole and SMT picture booksare great references, in particular. The DVDs have great up-close video (and cheesy music). These standards were the primary source for our soldering guides and videos.
What a Great TGIMBOEJ
We just received a TGIMBOEJ in the mail, that’s a The-Great-Internet-Migratory-Box-Of-Electronics-Junk in long form. Our box included a huge, old LCD panel, a mini 6GB hard drive, a GPS something or other, some super old style capacitor can, a power supply, an old relay and a bunch of other little odds and ends. The box started in Canada at ogi lumen (the prettiest nixie pictures on the net), and then went to uCHobby.com. We’ll be sending it to moderndevice.comnext. The idea is that you take what you want out, put in what you want from your own junk pile, and then pass it on. We’re going to nab the power supply. The rest of this entry has more pics.
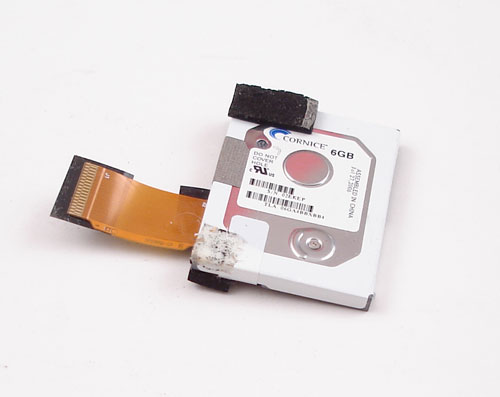
mini 6Gb harddrive about the size of a coin dollar.

A nice custom perf board creation–it’s even got daughter cards of a sort that hang off the bottom.
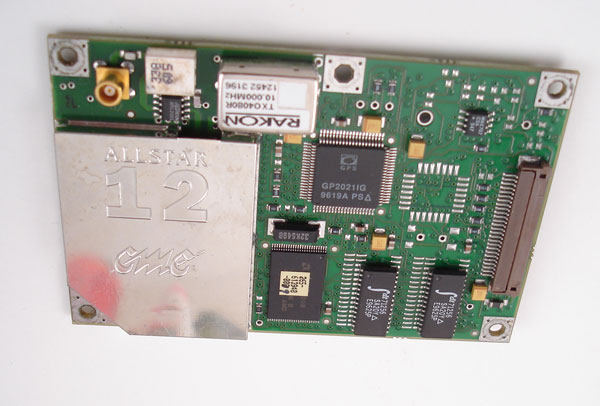
some sort of gps device

Old school relay… computers used to click before transistors and tubes.

Check out the capacitor can on the right.
New Kit: Stribe1 Touch LED Strip Controller
Each Stribe1 has a touch strip and double column of LEDs that can display and control music and video programs. Multiple Stribe1’s can be daisy-chained together to form a low-res, multi-touch display. Use with Max/MSP or other software to adjust track volumes with VU meters, make a sequencer, control synth params and pitch, “scratch” through sounds, etc. Designed by Josh Boughey as a modular version of his original 8 strip Stribe (which won two editor’s choice awards at the Austin maker faire!). The Stribe1 kit page
Stribe1: Touchstrip + LED Bargraph Display from CuriousInventor on Vimeo.
Kit Demos in Atlanta Friday, 11/6
If you’re in Atlanta, we’ll be demoing some kits at the launch event for Georgia Tech’s new Center for Music Technology. We’ll have all the music related kits, including the Voice of Saturn line, MIDIATOR and a soon to be released Stribe. There will also be some other interesting technology, including a robotic drummer and marimba player, some other modular synths, and some computer assisted / generated performances. The event goes from 4 to 6:30pm. 
Austin Maker Faire
We’ll be at the Austin Maker Faire doing all sorts of surface mount soldering demos, including toaster ovens, skillets, a stribe. There will be a drum machine that you can play with a playstation 2 controller and our MIDIATOR.
MIDIATOR now completely remap-able
The new firmware version of our MIDIATOR Kit lets you map any button or joystick to any note or controller, including button pressures. For instance, you could make the vertical axis of the left joystick go from 89 at the bottom to 34 at the spring-returned center, to 5 at the top. We made a new video showcasing this along with the Jomox XBase09 drum module, which is just insanely fun to play with.
revver.com/player/1.0/player.swf?mediaId=1224868
Some practice wouldn’t hurt…
Tutorials for KiCad–an Open Source Schematic / PCB Editor
This set of tutorials will cover some essentials to designing circuits and pcb layouts using kicad(link goes to author’s site + download), an open-source tool for circuit (board) design that’s freeand has no restrictions on number of layers or size (like Eagle). We’ll focus more on the unintuitive things as well as tips & tricks rather than re-write the manual.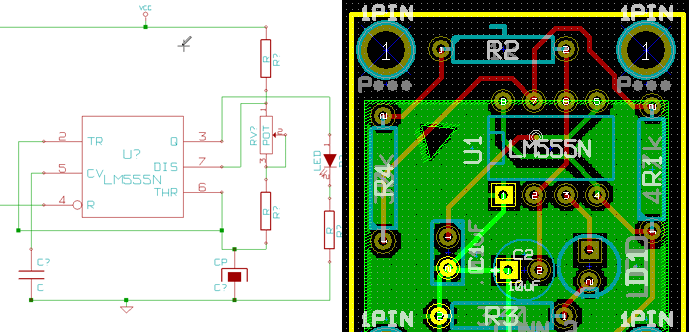
Bioloid Expert Kit Review / Giveaway Contest Announcement
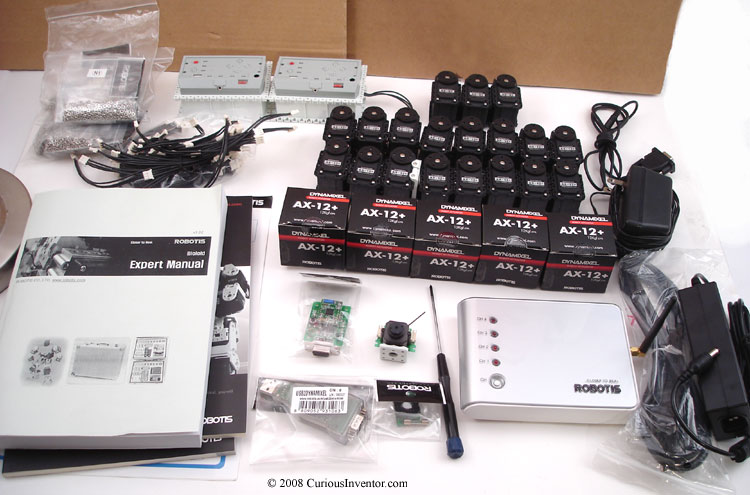
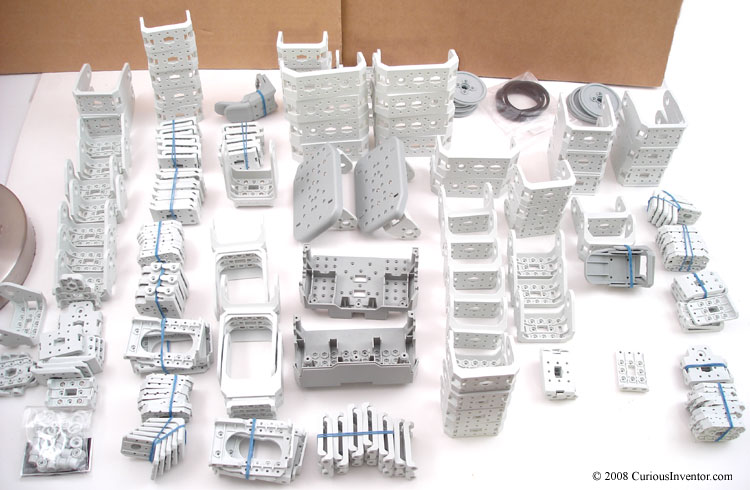
We got our hands on one of the $3500 Bioloid Expert Kits and took it for a gentle test ride. This post goes over some of the notable features as well as some of the drawbacks.
The Bioloid kit by Robotis offers an impressive combination of hardware and software to create robots that put the quite capable NXT platform to shame. I had the opportunity to play with the $3500 Expert Kit for a few days. I barely scratched the surface on the hardware and software capabilities of this kit.
Hardware:
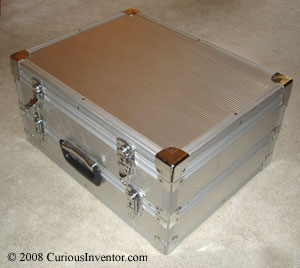
To start, the kit comes in a ridiculous aluminum case that looks like it’d be better suited for jewelry or weapons.
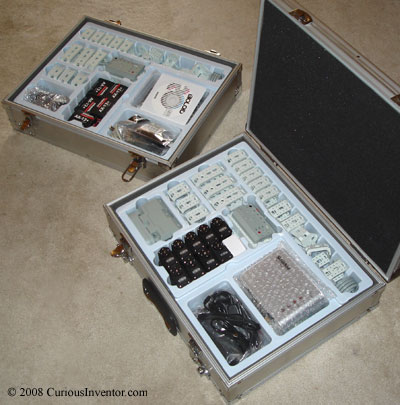
The module that powers your robot is based around the venerable Atmega 128 microcontroller housed in what is known as the CM-5. Programming and communication is carried out through a serial port interface. To reduce size, the serial cable features a 1/4″ audio jack on the CM-5 end. If you don’t have a serial port, the USB2Dynamixel can act as a USB-Serial adapter in addition to allowing direct control of the servos from a PC. The CM-5 can also communicate with another CM-5 or a PC via an optional Zigbee module that plugs into the CM-5 or IR communication through the AX-S1 modules. The kit comes with two CM-5’s.
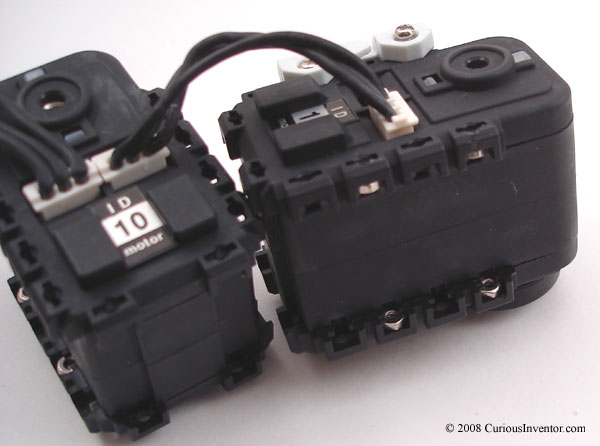
Servos and sensors are connected to the CM-5 through a three-wire daisy chain bus. This brilliant design reduces the clutter of cabling sprouting from your typical microcontroller, and can run at 1mbps speeds. The AX-12+ is much more than a basic servo. It can be spun continuously for use as a wheel and offers full feedback to the CM-5 (temperature, voltage, load, etc). The AX-S1 looks nearly identical to the AX-12+, but is a sensor module that gives the capability of distance, brightness, and sound sensing, as well as IR communication to other AX-S1s, to the CM-5.
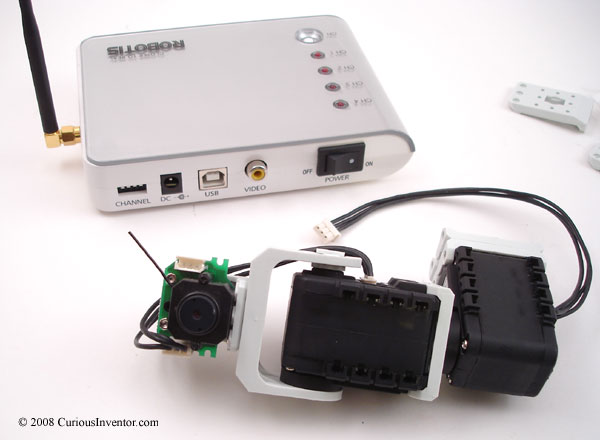
The coolest piece of hardware is a wireless camera. This transmits a decent 320×240 color image at around 30 fps. This 1″ cube will still provide a live feed up to ~100′ feet through walls (I wasn’t able to test a free-space range). The image data transmits to a USB receive that looks like a wireless router. This allows the heavy image processing to be offloaded to a PC.
Software:
The CM-5 can be programmed by C or a graphical language akin to NXT-G. Also there exists software for motion-capture type programming. I didn’t get to delve too much into any custom programming, but some of the demo CM-5 and Windows binaries that did image processing were impressive. It can do lots of standard operations out of the box, including edge, motion and blob detection.
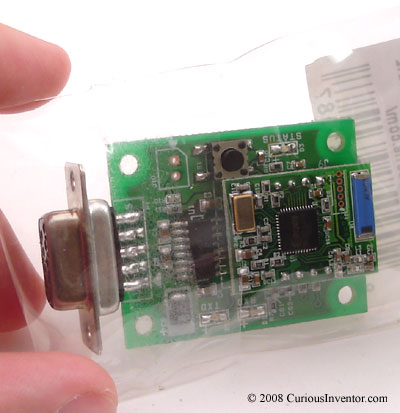
Documentation, especially about the wireless camera and Zigbee modules is a little sparse, and sometimes in somewhat poor English. Since they don’t sell the vision software separately, there isn’t going to be a large community of people from which to get support ($3500!). Assembly of brackets and servos can be a bit tedious. The brackets have integrated nuts to make assembly a little easier, though inserting the nuts into the AX-12+’s and the AX-S1’s can be quite frustrating. There might be a trick, but it took me a few hours just to put a couple servos together. The AX-12+’s and the AX-S1’s serve as joints and provide the majority of the length to an appendage. No long structural pieces are included in the kit, so don’t expect to be able to create any long and light-weight arms, since balancing your design could get tricky.
Overall, the kit is very impressive. I’m anxious to see what people are able to design with this, especially outside of the standard creature bot. A lot of potential exists for use in prototyping automation and assembly lines.
One more video:
https://player.youku.com/player.php/partnerid/XMjY0/sid/XMTY5NjE0MDQ
Monome Cases and Faceplates
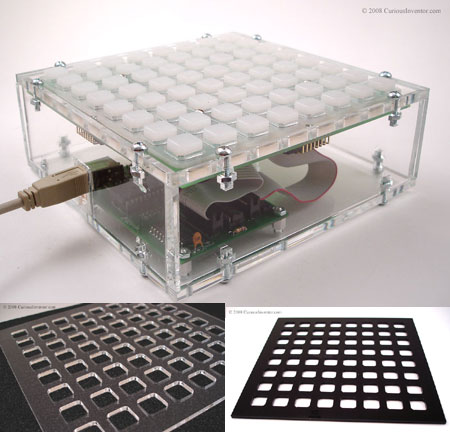
We now have some monome faceplates and cases available. We used the t-nut solution to make the case assemble-able straight from the laser cutter without tapping or machining (idea came from David at uChobby.com.
Clearing Cloudy Acrylic Edges with Fire
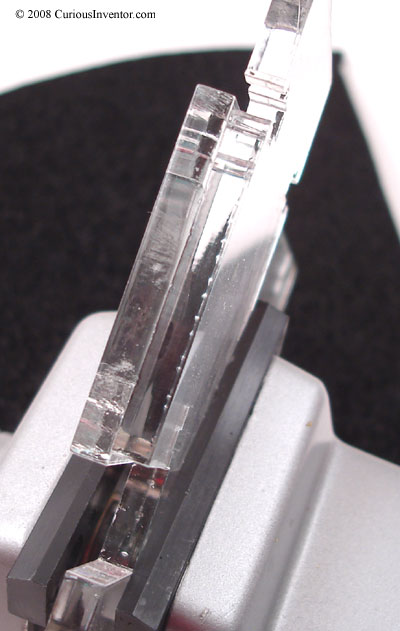
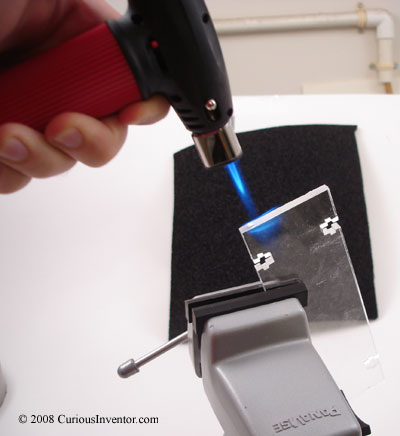
Scroll or hack sawing through acrylic can leave a cloudy edge, but a few passes from a butane torch will quickly clear it up. Click the post title to see before and after close-ups. Laser cutting guru Ryan at ohararp.com gave us this tip.
Before:
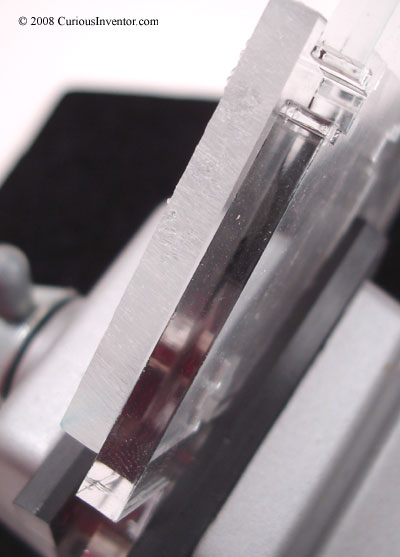
After:
