Highschool teams from around the world converged in Atlanta at the Georgia Dome for the FIRST world championships this weekend. Teams had to grab “moon rocks” and toss them into trailers being towed by competitors. Some of the most effective teams could dump 20 volley-ball sized “rocks” into the 6ft tall trailers in seconds. FIRST runs robotics competitions for kids in high school and younger (Lego league). It’s a great opportunity to mentor for people involved in engineering companies. One challenge of the competition was finding the “moon rocks”, which Walmart stopped selling after the building season was well under way.
Robotic Marimba Player To Debut In Jazz Piece
in Friday’s Listening Machines concert. The robot generates music on the fly, and has a head that can bob with the beat to give cues to other players. The concert will also feature music generated by solving a rubik’s cube, other algorithmically generated accompaniment and a sound pool installation. 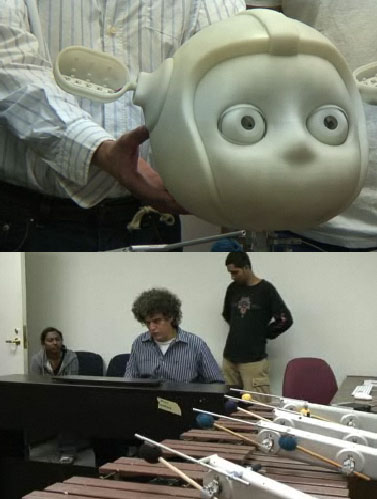
Shoe-thesizer: WSG in a Converse All-Star
The Shoe-thesizer is another addition to the crazy collection of “cases” for Ray Wilson’s WSG (Weird Sound Generator). The circuit is based on 3 simple schmitt trigger oscillators that modulate and gate each other + a low pass filter. Schmitt trigger oscillators work similarly to 555-based oscillators by snapping back and forth as a cap charges and discharges through a resistor. Just three components and you’re oscillating.
Stribe in Blue
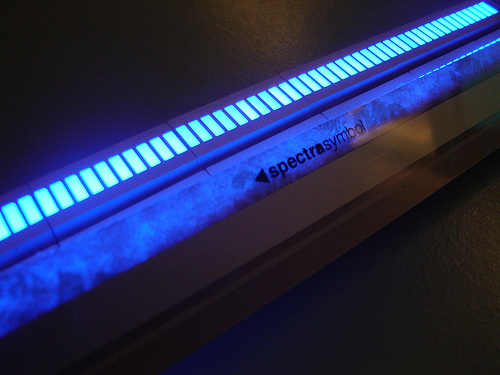
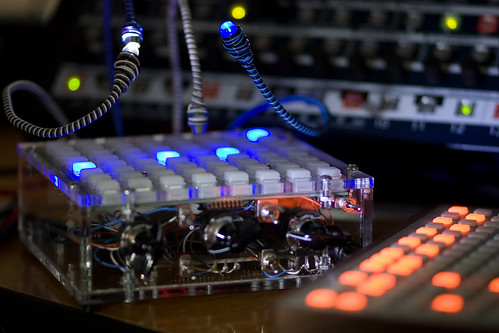
MachineCollective.org installed some blue LEDs in a Stribe1, and is also making a custom casing. Check out other pics and videos at his flickr photo stream of the Stribe1 build. He’s another monome / arduinome case maker, and his cases are gorgeous.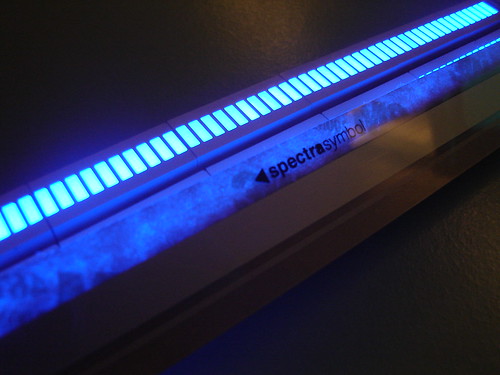
VoS / Stribe demos at Dorkbot
Travis and I will be demoing some toys at the next Atlanta Dorkbot, which will be held at WonderRoot (directions). Travis is bringing the Voice of Saturn line and I’ll have some stribes and an arduinome. Also, Beth Milliken will talk about Freeside, a new Atlanta based non-profit Hackerspace – encouraging collaboration and innovation across hardware and software disciplines.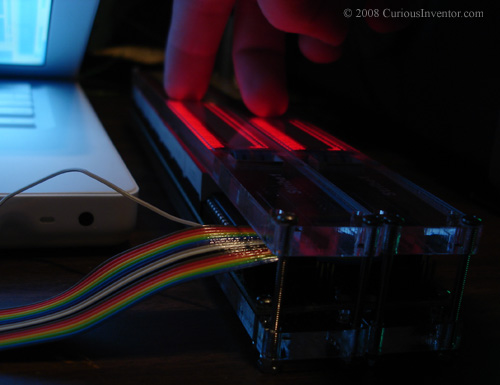
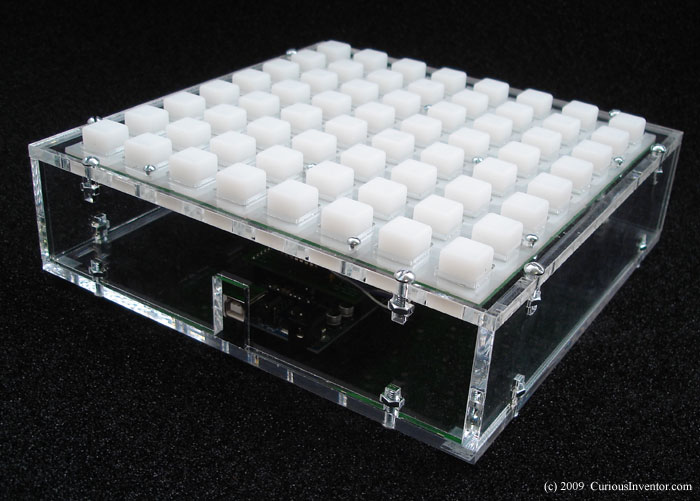
Arduinome Case Now Available / Build Log
Both black and clear acrylic arduinome cases can now be ordered. Our first batch is very limited, but more will arrive soon. This post will detail the building and programming process.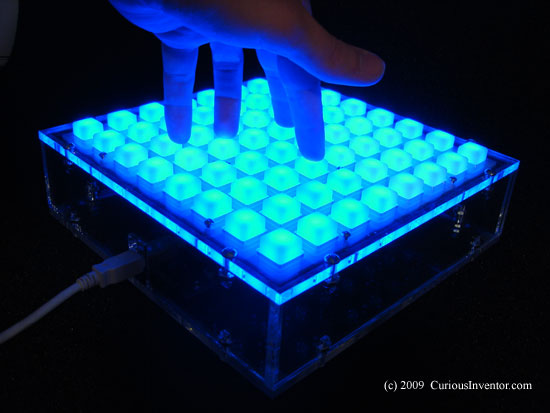
Building an Arduinome
This guide largely echos bricktable’s (thanks!), with some added bits and pieces.
Parts list:
Both our black and clear acrylic cases come with the following:
- (16) 8-32 screws
- (16) 8-32 nuts
- (4) rubber feed
- (2) 4-40 standoffs
- (1) 2-56 screw (for small arduino mounting hole)
- (5) 2-56 nuts (for small arduino standoff and nut)
- (20) 4-40 .5″ screws for buttons
- (20) #4 lock washers
- (22) 4-40 nuts (for standoffs and button screws)
You’ll also need:
- arduino Diecimila (or newer versions that accept shields)
- unsped shield
- spark fun buttons and pcbs
- (64) bright LEDs (1000mcd blue LEDs shown) mouser: 604-WP7104PBC/A Both 3mm and 5mm LEDs with .1″ lead spacing fit. Standard LEDs will barely show through the buttons, even in low light.
- (64) small-signal diodes
- 8-Bit Shift Register. mouser: 512-MM74HC164N
- 8-Bit PISO Shift Reg, mouser: 511-M74HC165
- 10uF cap
- (3) .1uF caps
- 10 Pin Common Bus Resistor Network, mouser: 266-100K-RC
- (2) 2×8 headers
- (2) 16 pin IDC sockets
- ribbon cable
- (1)single row male headers
- 24 pos. socket, 14 pos. socket, 16 pos. socket
- MAX7721 or MAX7719
- current limiting resistor, see the forward voltage chart here
Starting with software so we can test everything before installing all the screws.
Software: Setting the USB Serial ID, Firmware, ArduinoSerial, Monome Software
Outline: A program called ArduinomeSerial lets monome apps talk to the arduinome. In order for AruinomeSerial to recognize the arduinome, your arduino needs to have a new serial ID programmed into the FTDI USB-to-serial chip, as well as arduinome serial firmware.
Setting the USB Serial ID on the arduino:
- Plug in the arduino
- Download MProg and run it (PC only, any Mac solutions?).
- Tools –> Read and Parse
- In the “USB Serial Number Control” box, check “Use Fixed Serial Number” and type in a number like “a40h-001” or any variation on “a40h-xxx”. a40h- is the important part.
- File–> Save As… whatever you like.
- Device Menu –> Program
- It should respond with a “programmed device with…” message.
- The monome forums have more info on this process.
Load the arduinome firmware:
- Download the arduinome firmware. Note: it may look like only the firmware is available, but if you click “arduinome” under package in the download page, you’ll find the ArduinomeSerial program.Download ArduinomeSerial, too.
- Use arduino v11 to program the firmware.
- Run ArduinomeSerial. If it lists your serial number under the “Device Settings” box, it found the device.
Hardware: Wiring the button pcbs, Soldering the Unsped PCB, Building the Case.
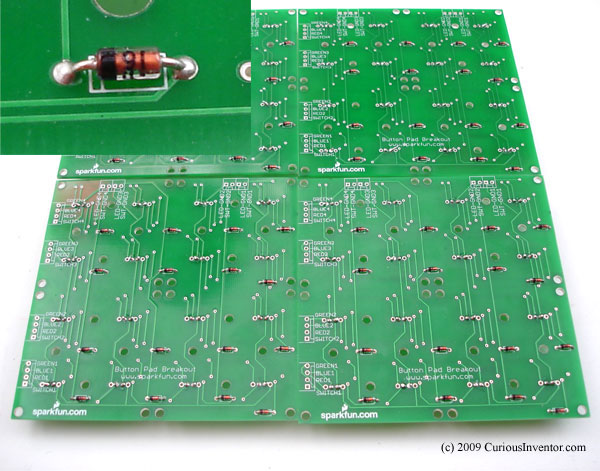
Install diodes: Make sure the line on the diode matches the silk screen. Trim their leads close (flush cutters!) so they don’t interfere with the buttons.
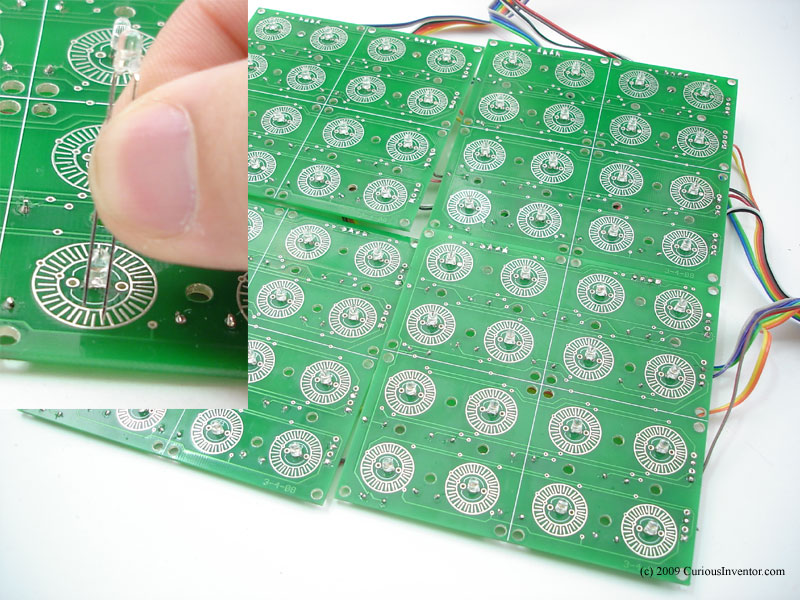
Install LEDs: Ground (shorter lead) is the 2nd hole from the flat side. The 3rd hole connects to the “Blue LED” line.

Wiring the pcbs: Feel free to do this how you like, but we cut 5″ & 10″ segments of ribbon cable, stripped both ends of the short segments and twisted them together with the stripped ends of the longer segments. Follow the wiring diagram below, and for a more complete schematic, check outcbit’s. It’s not a bad idea to beep-test (check connection) a few lines between the button pcb and the actual sockets on the unsped pcb.
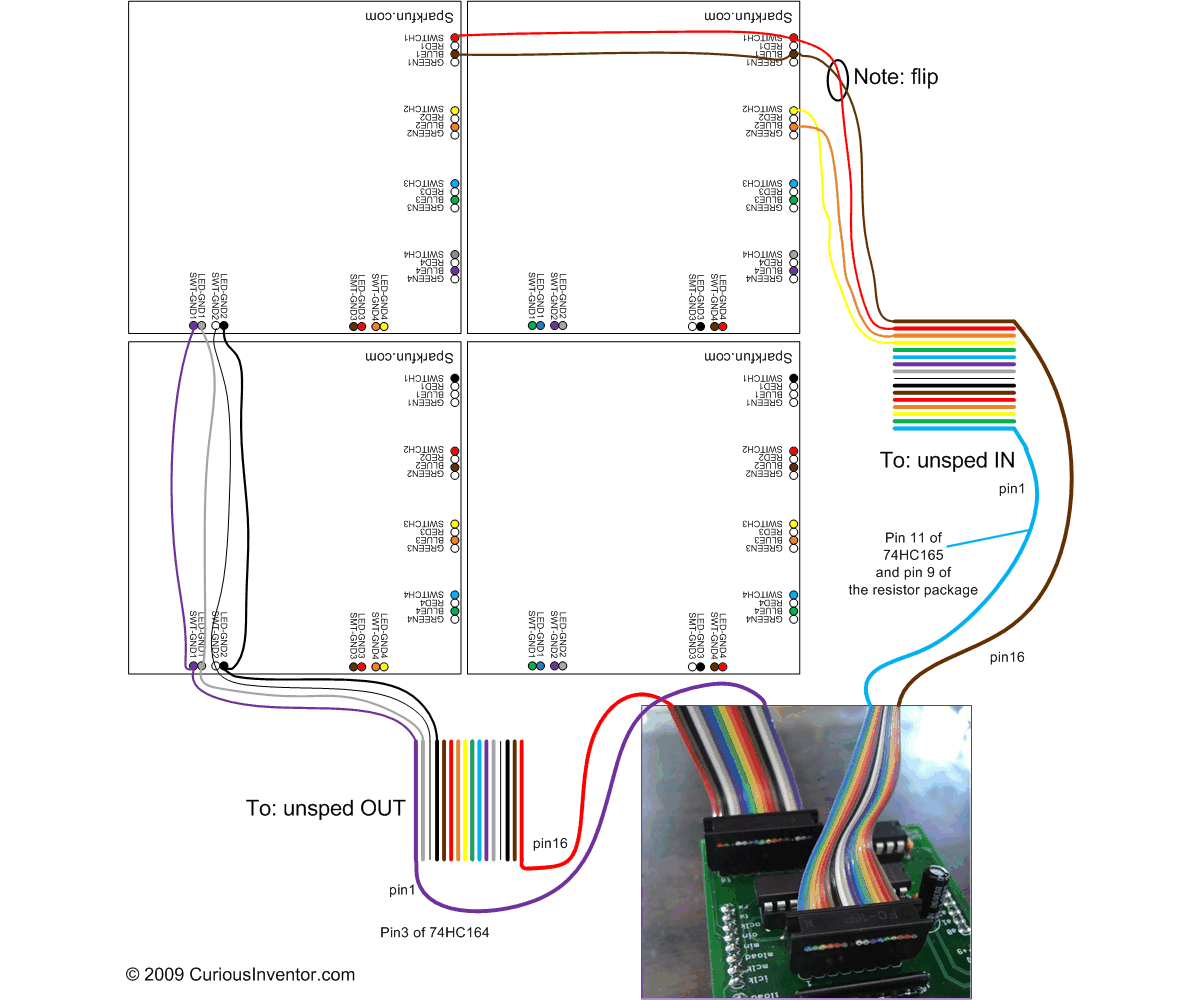
Note: each blue & switch pair is flipped.
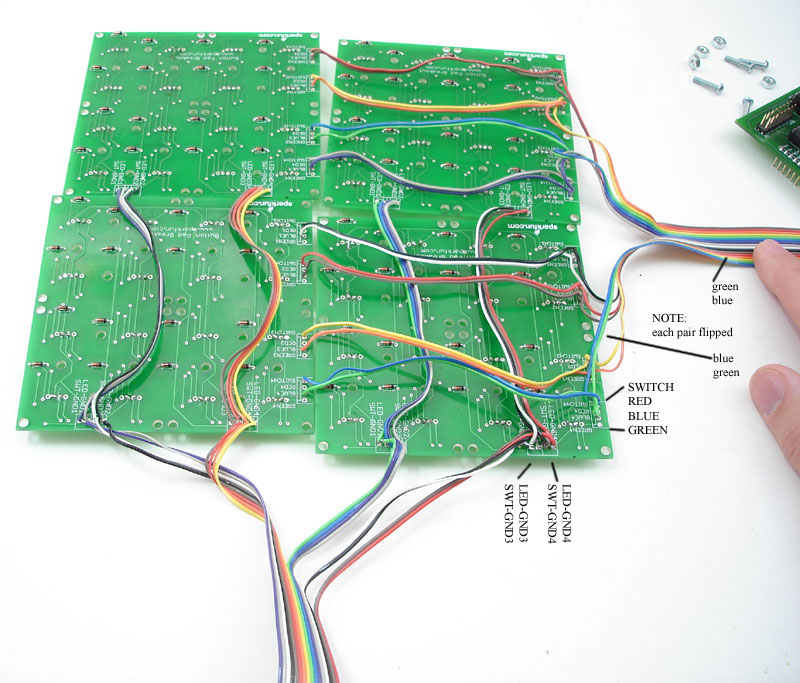
Click image for a larger version.
Solder Components to the unsped pcb:
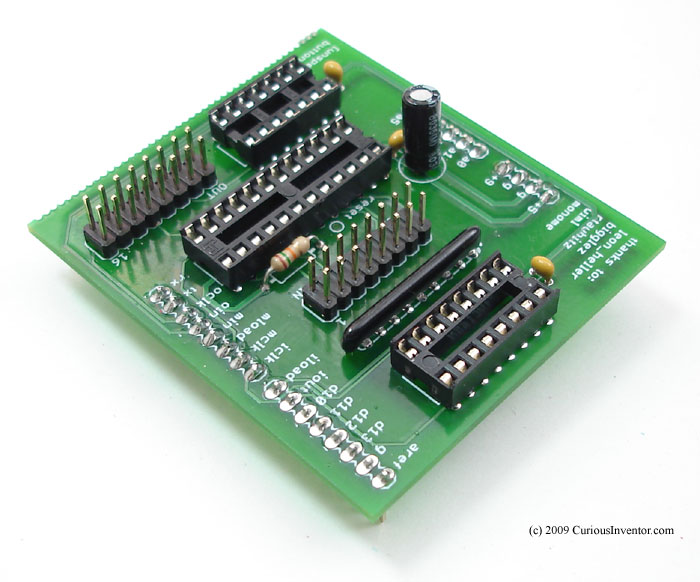
Note: see here for info on choosing the current limiting resistor. We used a 15k to limit current to 30mA per LED, which was chosen based on the 3.2 forward voltage drop of our LEDs.
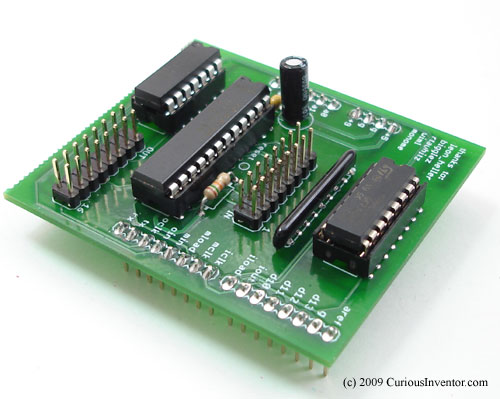
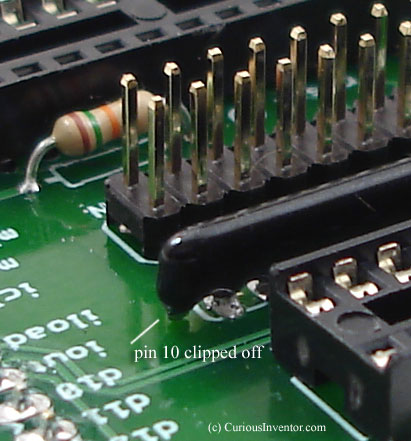
Clip the the 10th pin of the resistor package–only the first 9 are needed. The package is notsymmetrical, don’t clip pin 1.
Note: we broke off the break-out board because we’re not using it in these instructions.
Start building the case by attaching arduino to base:
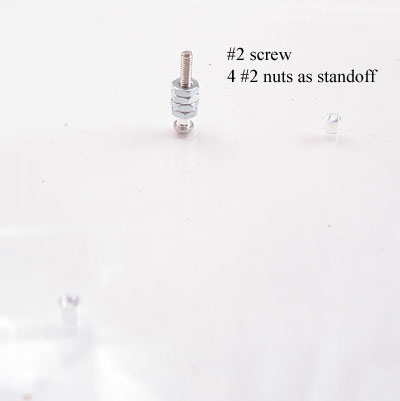
First add the #2 screw and 4 #2 nuts to act as a standoff.
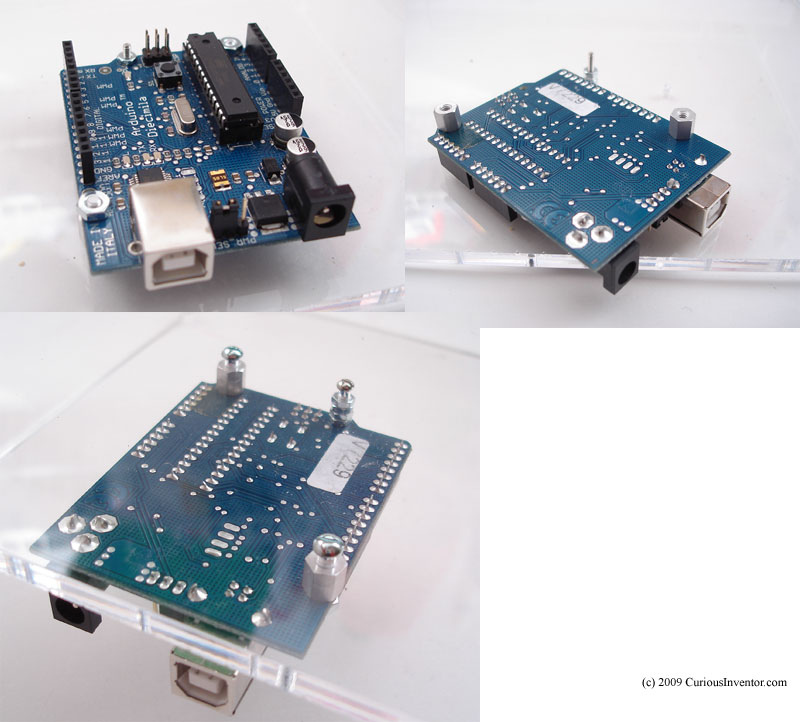
Now attach the standoffs with nuts to the arduino, and then use the shorter 4-40 screws (3/8″) to secure the 4-40 standoffs to the acrylic base plate.
Put buttons in top face:

Lay the button pcbs on the buttons, secure each with one screw in the middle.
Although not pictured, install the 4-40 lock washers under each nut.
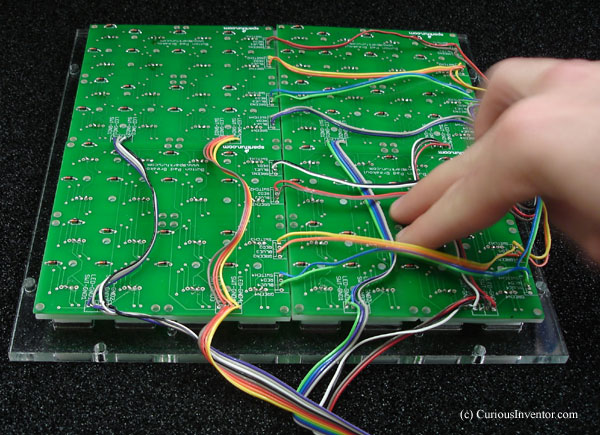
Wiggle to make sure they’re seated correctly.
Before completing the case, download the monome_base apps and run monome_test:
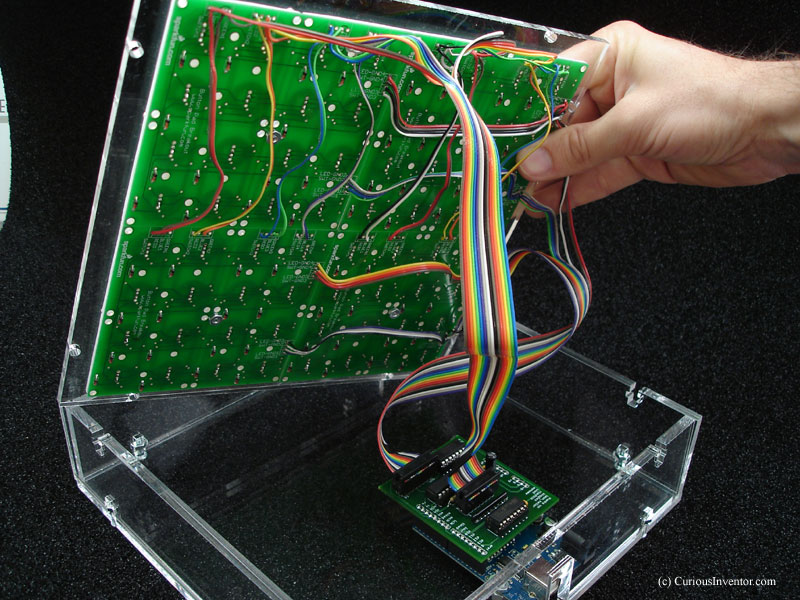
Plug in the shield, IDC sockets, and USB cable. See the getting started instructions for a first test. If everything works, proceed ahead.
Continue installing the rest of the 20 button screws, washers and nuts.
Begin installing side panels:
Slide a nut into its slot, and then insert the screw through its corresponding hole.
Finish two sides, and then begin installing the top.
The picture shows all 4 sides installed first, but by doing only two sides first it’s easier to grab nuts that may fall inside. Also, the sides of the acrylic have a slight angle, so they’ll tilt a small amount if only the top or bottom is attached. Counter this by holding the side in place while securing the top.
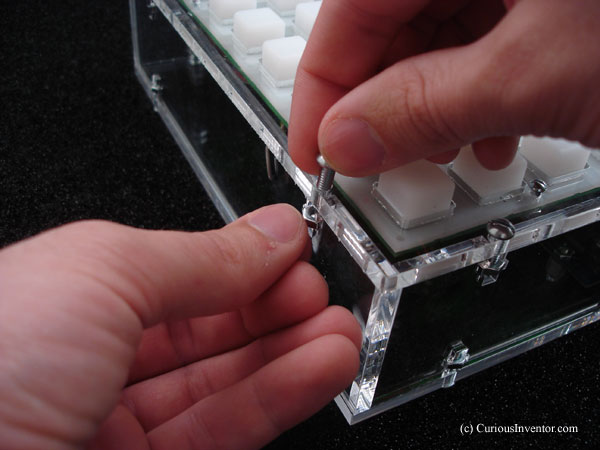
When everything is in place, tighten down all screws.
IEEE Robot Competition Interviews
A couple teams from the IEEE Southeast Con Hardware Competition explain how their bots work. The goal is to sort three different types of Coke containers and stay within an electric dog fence boundary.
Voice of Saturn Voltage Controlled Filter
The 4th member of the Voice of Saturn family is now available. The VoS VC Filter consists of a joystick or Voltage Controlled low-pass filter, and two summed inputs with VC amplitudes (knob or VC). The joystick is modular, and can be patched to control or attenuate other equipment.
Voice of Saturn Voltage Controlled Filter from CuriousInventor .
Bleepnome: bleepified monome 40h
“… the bleepnome has 2 photocell tenticles and 2 led tenticles. So it reacts to light on the monome to change either pitch or modulation. The multiscreen aspect of SevenUpLive lets me control the 40h lights from the 128…. ” video goodness ( by barnone )
Sudoku, Diesel-Engine Hammond Organ, Fly-Wheel, Stretched Skin Instruments
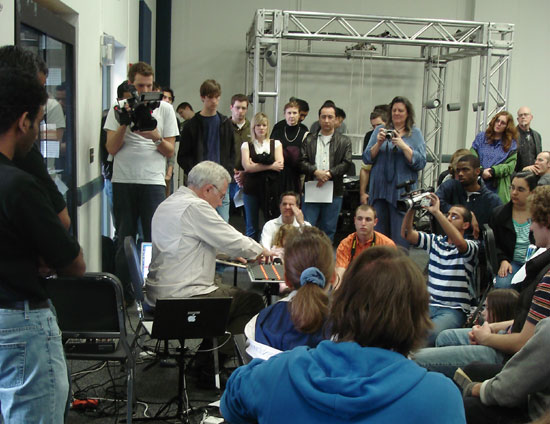
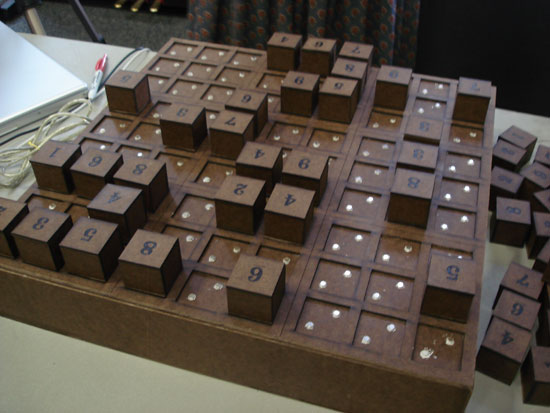
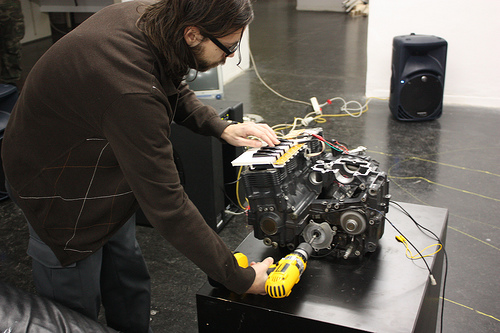
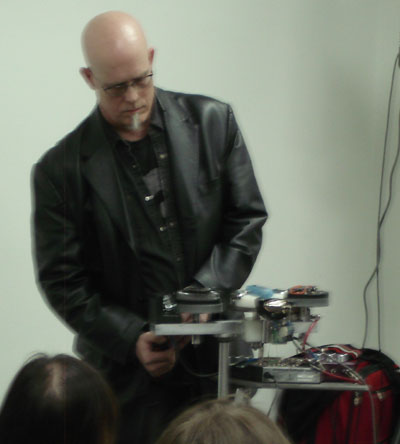
The Guthman New Musical Instrument Competition was this weekend, and brought in some very inventive new music-making devices from around the world. Here’s a small sample (more pics to come): SoriSu (video) (Hyeki Min): a Sudoku game that algorithmically generates music based on your play, using the same rules as Sudoku. Wrong plays generate harsh dissonance as punishment. Hammond Organ from Engine (jan perschy, austria): Old Hammond organs generated sound not from electronic oscillators, but tonewheels–actual spinning wheels with magnets sensed by pickups. Rich timbres were made by mixing these tones together (“additive synthesis”). Jan has replicated this idea but uses various rotating parts in an engine for tone wheels. The pickups are actually Harley Davidson pickups used to detect piston position in actual motorcycles. The keys gate the pickups on/off.
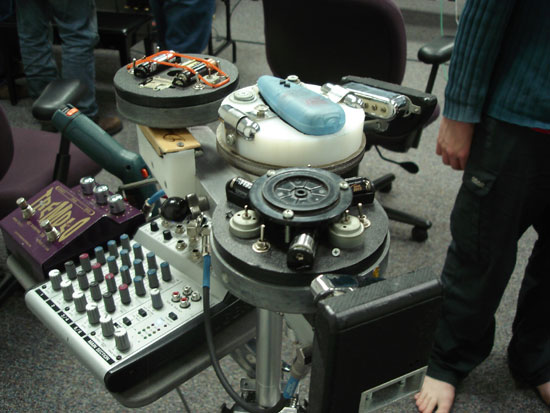
 Motors on Fly-Wheels Sensed by Guitar Pickups (Neil Feather): Some of the best music (in the author’s opinion) came from one of the simplest instruments. Three fly wheels, each with a couple electric motors mounted on them. Neighboring guitar pickups hear different tones depending on how fast the the wheels are spinning, and lots of interesting phasing / beating effects were generated that slowly changed as the wheels slowed down. The inspiration apparently came from swinging vibrators near guitars…
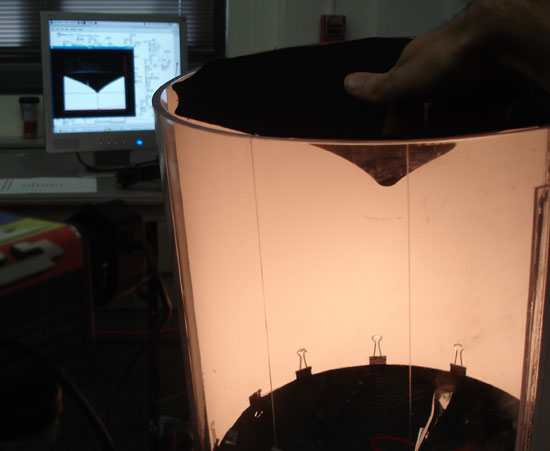
 Silent Drum (Jaime Olilver): The 2D profile made by pressing and stretching a drum skin is used to control a phase vocoder. This was the winner of the competition. This instrument had a great connection between what you heard and what you saw.

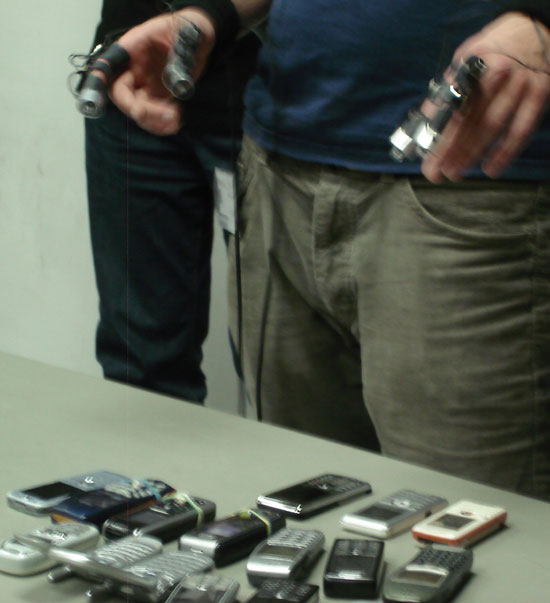
Light sensitive transistors pick up the varying refresh rates on cell phone displays. The artist (Robert Mathy) plays by pointing his fingers at various positions on the displays. Blinking lights make interesting rhythmic patterns.
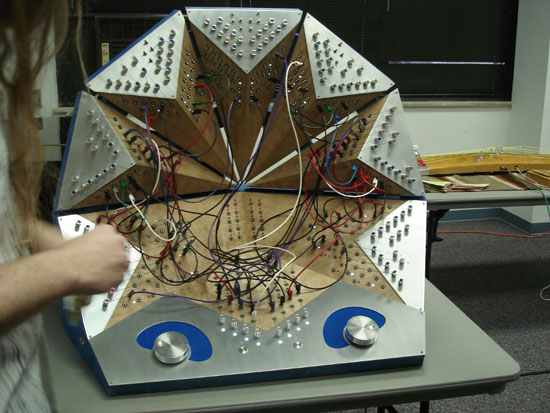
Skot Wiedmann brought an insane death-star patch-bay, which even he couldn’t explain how it really worked. Somewhat neural-nety, he said he was interested in the results of combining random collections of circuits.
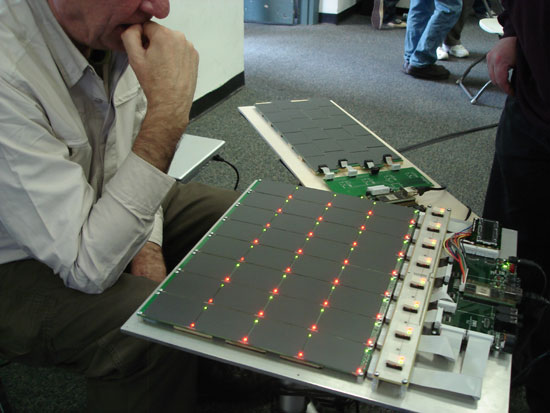
David Wessel (Berkeley’s CNMAT) brought the ultimate touch pad array, feeding his computer 96 channels of audio signals over ethernet that contained x,y and force for each pad.
