NOTE: This tutorial was written in 1847, and kicad has changed a lot since then!
Changing Parts:
If you want to delete, add or functionally change a component, it’s best to change the schematic and repeat the entire process again:
- Make changes in eeschema, re-annotating the components if necessary (putting numbers in for R?, C?, etc.)
- Save netlist in eeschema (schematic editor)
- Run Cvpcb and assign a footprints / modules to the new components
- Read the netlist again in Pcbnew (backup the .brd first!)
If you’re just changing the footprint of a module, for instance, going from a 1/4W resistor to a larger 1/2W, you can make the changes just in Pcbnew (explained below).
Deleting, Adding or Making other Major Changes:
As just stated above, make the changes in the schematic using eeschema. We’ll add a 2-pin header for power, and replace the pot with a fixed resistor.
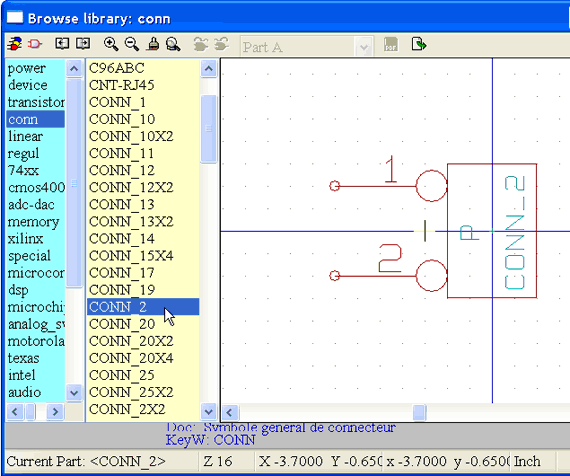
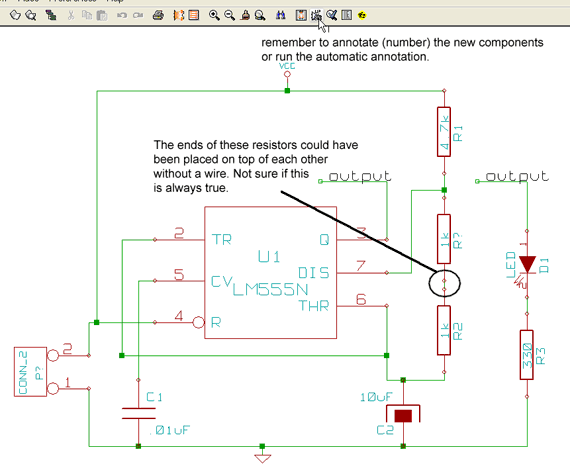
Add the 2-pin connector, wire it up, delete the pot and re-wire a resistor in its place.
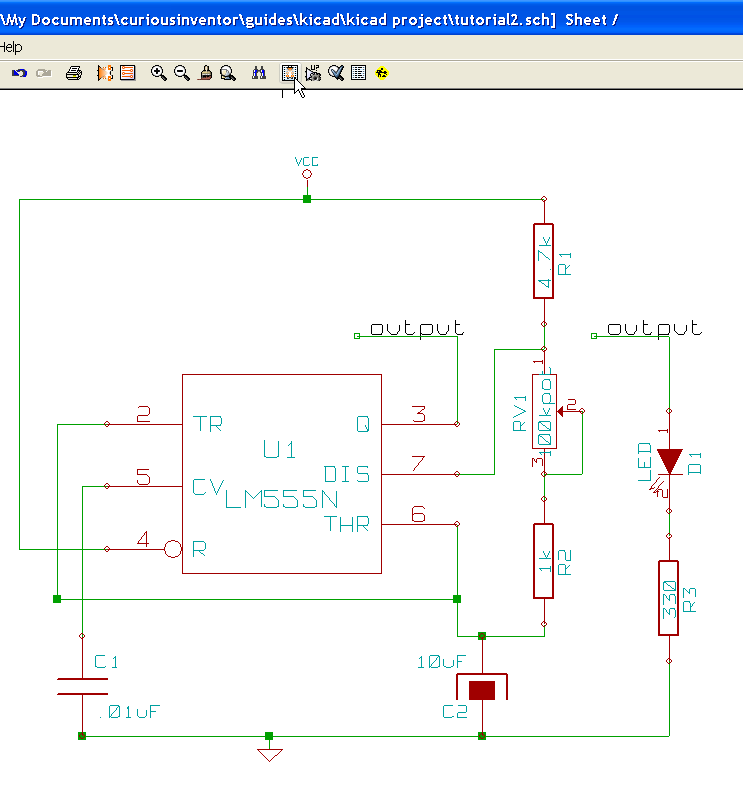
Again, save the netlist, and then open Cvpcb.
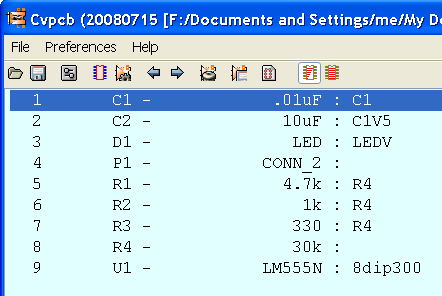
The new netlist should have two blanks in it now. Assign the module SIL-2 to the CONN_2 connector and another R4 to the resistor. Save the netlist again.
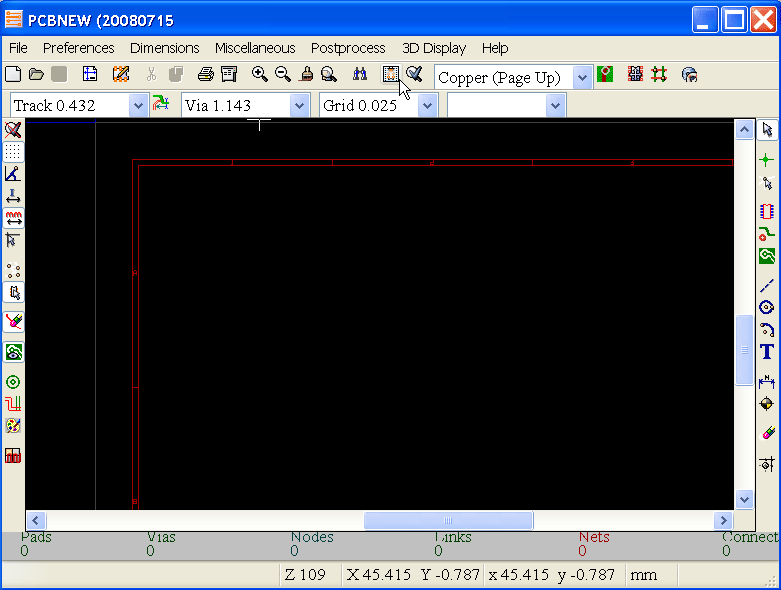
Open Pcbnew and click the “Read netlist” button.
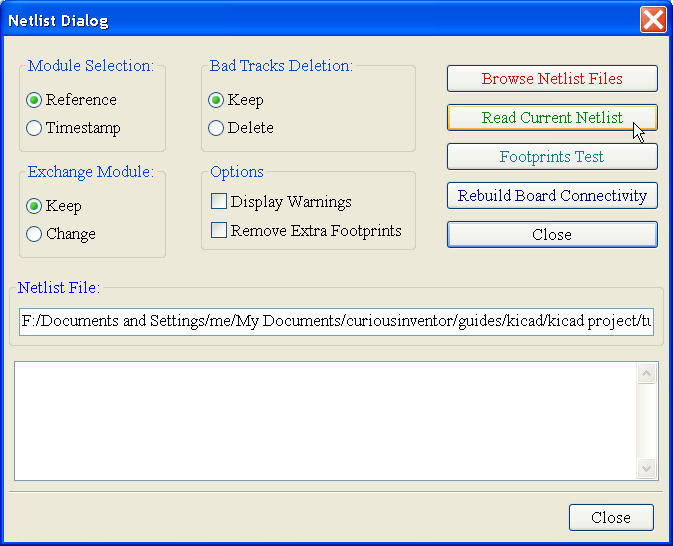
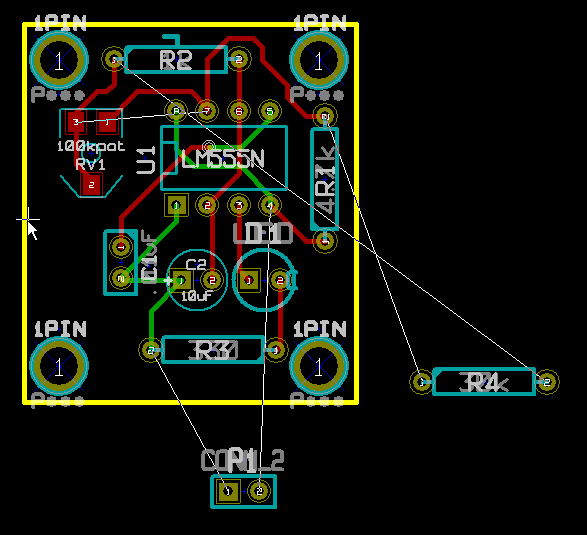
If you just click “Read Current Netlist” in the dialog without changing any options, it adds the two new components, but doesn’t delete the old ones and their stale tracks.
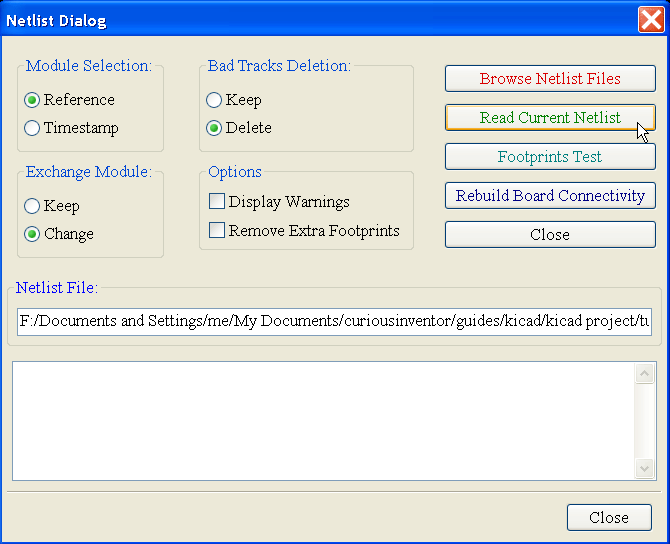
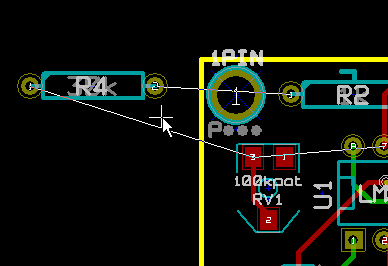
Selecting “Change” and “Delete” under “Exchange Module” and “Bad Tracks Deletion” gets rid of some of the bad traces, but still doesn’t delete module RV1. Had RV1 been labeled R4 before, it would have indeed deleted the module and replaced it with the new R4.
But since RV1 has a different name, the only way to get rid of it is to manually delete it or select “Remove Extra Footprints” under “options.” We can’t select that option, however, because that would delete any modules that are not in the netlist (or the .cmp file), which includes our screw holes.
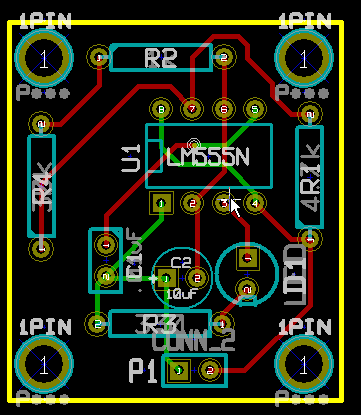
Changing Just a Module, and Not the Circuit:
This can be done solely in Pcbnew without going back into Cvpcb or Eeschema.
You can either swap out a module for a different one from the library, or actually edit the silk screen and pin layout.
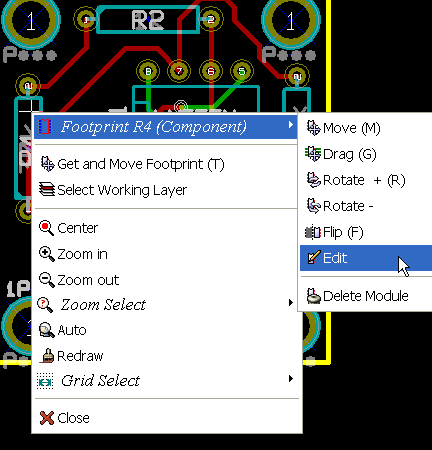
First, right click on a component and edit the footprint.
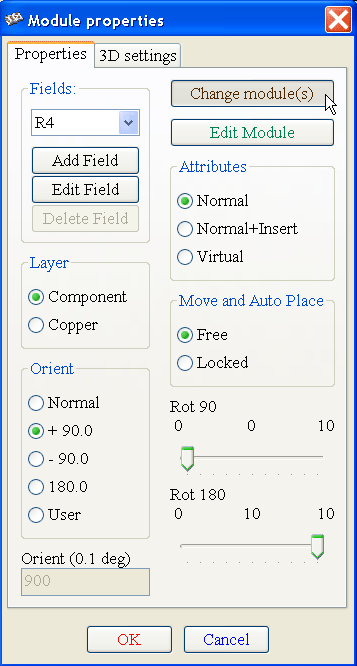
Then click “Change Module”.
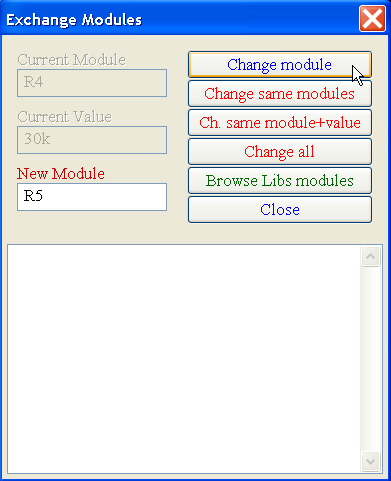
Type in “R5” or Browse to find a new module, then click “Change Module”.
A new, longer resistor footprint should be in place. Although the netlist didn’t change, another file also used to keep track of modules has: the .cmp file. Next time you run Cvpcb, it will already show a new R5 module mapped to R4. The naming convention is extremely confusing here–R4 is a component label, and R5 is actually a foot print name.
By clicking “Edit Module” in the above Module Properties dialog, you could open up the module editor and actually change the shape and pin arrangement of the footprint. The resulting module would be saved in the .brd file, and not a library (I think).
