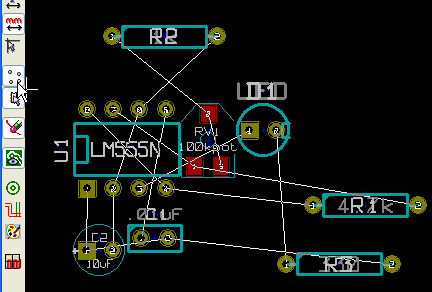
NOTE: This tutorial was written in 1847, and kicad has changed a lot since then!
Contents:
- Arrange Components
- Drawing the Board Outline
- Drawing Traces
- UnDo… not yet, but there is an UnDelete and Adding Screw Hole
- Changing Parts
- Adding Copper Filles / Zones
- Making Gerbers (files needed by the manufacturer)
Arrange Components:
Grid First!
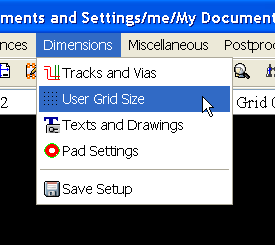
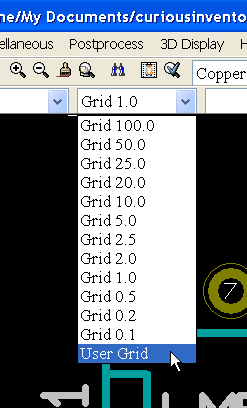
You’ll probably want to adjust the grid size before moving anything. The pull down contains the user grid size as well as several sizes listed in mils (thousandths of an inch).
Group Move:
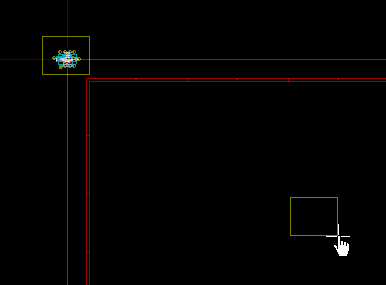
When you first read a net-list, all the components will come in on top of each other.
Start off by moving the whole pile of components by drawing a selection rectangle around them and then click in the middle of the sheet.
Auto Un-Piling
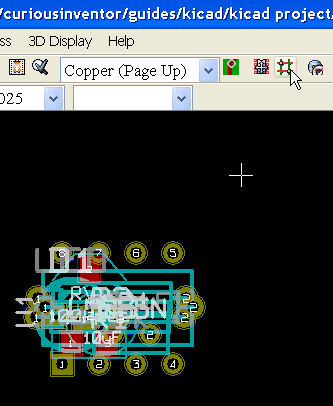
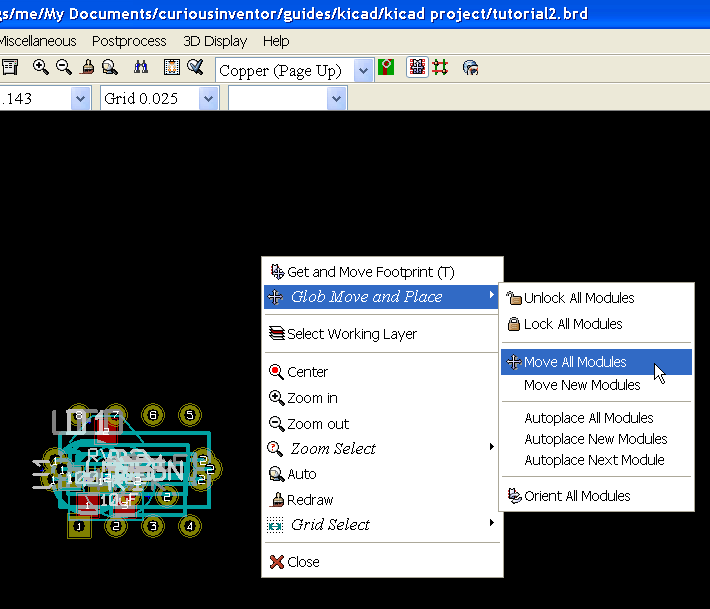
Pcbnew will automatically unpile the components. First, enable the automatic mover by clicking the “Mode Module” button in the top toolbar. Then right click and select “Move All Modules”. Pcbnew also has an “auto placer,” which is different in that it tries to minimize the length of the connections between the modules (the ratsnest). You can fix components to prevent them from being moved by either command.
General Moving and Rotating–use keyboard shortcuts:
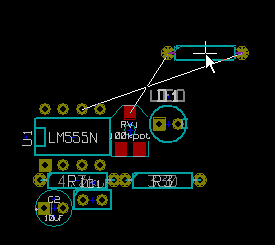
Continue moving components around by hovering the mouse pointer over them, and then pressing “m” or “r” to move or rotate.

